In this post I will walk through the steps of setting up an enterprise certificate authority (CA) in a Windows Server 2008 R2 Active Directory domain. The steps needed to configure this are fairly simple and straightforward. Having your own CA is useful for testing SSL and other services that require certificates without the need to purchase certificates from a third party. However, these certificates will not be automatically trusted by computers external to your AD domain, so there are some limitations. Lets get to it.
First, start the Server Manager.
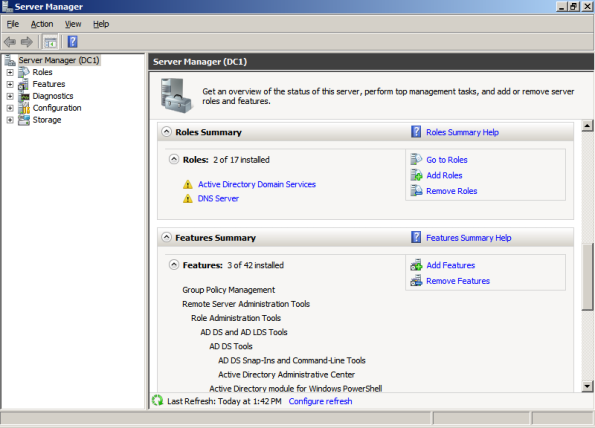
Click Add Roles under Roles Summary.

Check the Active Directory Certificate Services role and click Next.

Under Role services check Certification Authority and Certification Authority Web Enrollment. The Web Enrollment service is useful if you choose to make requests for certificates from computers that are not members of your AD domain. If you have not yet installed all of the IIS components the Web Enrollment service needs, it will ask for prerequisites to be installed. Go ahead and accept these, then click Next.

I will keep the default and use an Enterprise CA, click Next.

This if my first and only CA, so I’ll choose Root CA and click Next.
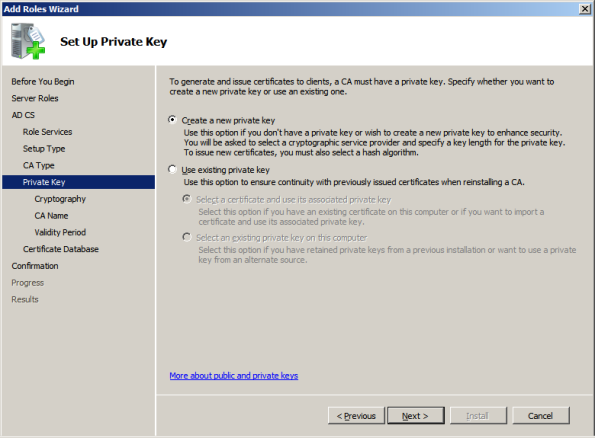
This is a new CA without existing keys so select Create an new private key and click Next.

Keep the default CSP, hashing method, and key length and click Next.
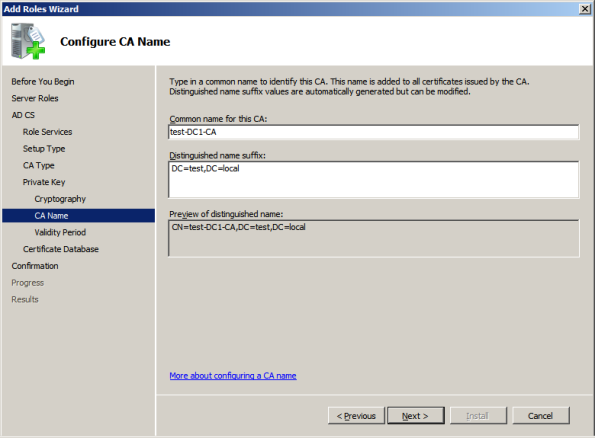
I’ll keep the defaults and click Next.

Click Next.
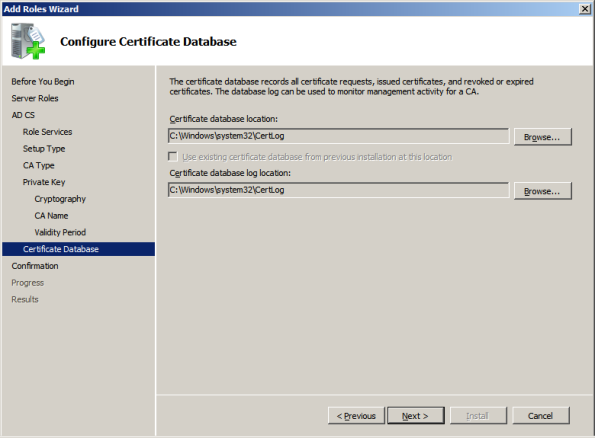
Accept the default database locations and click Next. Then at the confirmation screen click Install. See how easy that was. See you next time!
---------------------------------------------------------------------------------------------------------------
Set Up Windows 2003 IAS Server with RADIUS Authentication for Cisco Router Logins
As a companion to my article RADIUS Authentication for Cisco Router Logins, this post will discuss the configuration of a Windows 2003 R2 server for Cisco router logins using RADIUS authentication. In my example I will install the Internet Authentication Service to support RADIUS on a Windows 2003 R2 domain controller and give router login access to an Active Directory domain user.Configure User(s) for RADIUS Authentication on Windows Server 2003 R2
First Go into Start > Admin Tools > Active Directory Users and Computers. Optionally you can create a new group and add users to it that you want to grant router login access. In this example I will grant access to the existing Domain Admins user group.

Now double click a user account that you want to provide router login capability. I will use the Administrator account.

In the user properties dialog click the Dial-in tab, then make sure that Remote Access Permission is set to “Allow access”. You can also set this to “Control access through Remote Access Policy”, this should work with the policy settings we’ll specify later. Click OK.
Install Windows 2003 IAS/RADIUS Service
Go to Start > Control Panel > Add or Remove Programs.

On the left click Add/Remove Windows Components.
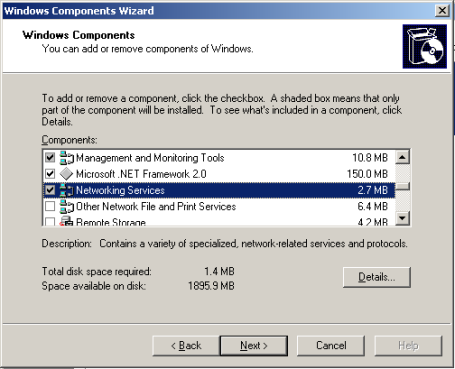
Scroll down and highlight Networking Services, then click Details.

Place a check mark next to Internet Authentication Service, then click OK.
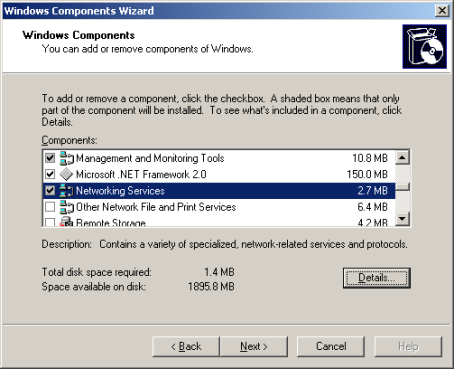
Click Next. Click Finish at the install confirmation window.
Configure Windows 2003 IAS/RADIUS Service for Cisco Router Logins
Now let’s configure the policies to allow our Cisco router to make authentications against this IAS/RADIUS server. Go to Start > Admin Tools > Internet Authentication Service.

In the left pane tree right click Remote Access Policies and choose New Remote Access Policy from the menu.

Select “Set up a custom policy” and type a name for your Cisco router policy. Click Next.
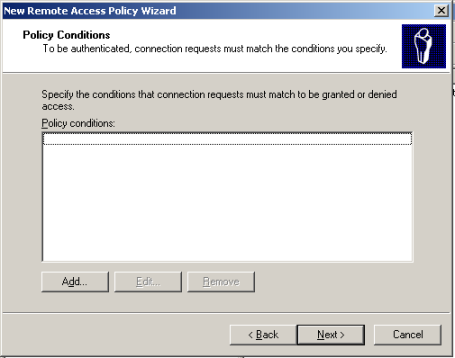
Click Add in the Policy Conditions.

Highlight the Windows Groups attribute type and click Add.


0 comments:
Post a Comment